[This is part 2 of an ongoing series of posts examining the HTML5 Canvas element. In Part 1 of this series, I introduced Canvas and prepared a template to make further explorations a bit simpler, and also introduced JsFiddle, a neat tool for experimenting with and sharing web code.]
The HTML5 Canvas element holds much promise in terms of making it easier for web developers and designers to create rich animated elements for their sites, without the need for additional browser plug-ins. In this post, we’ll look at the basics of drawing shapes in Canvas, and a little bit about CSS and Canvas.
Canvas and Backgrounds
One thing I wanted to explore in this post, prompted by a comment by Ian Lee on the previous part, is how Canvas interacts with the rest of your page. Ian asked in his comment whether or not it was possible to make a Canvas element transparent. Another commenter, “dhimanvikas,” helpfully offered that this is the default. We can see this by adding a background color to our page using CSS, like so:
1: <style>
2: body {
3: background-color: #f00;
4: }
5: </style>
(note that I’m using inline styles for now to keep everything in a single file for simplicity…in a production site, it’s a best practice to separate styles into one or more external style sheets, to help keep your pages smaller, and make your styles reusable)
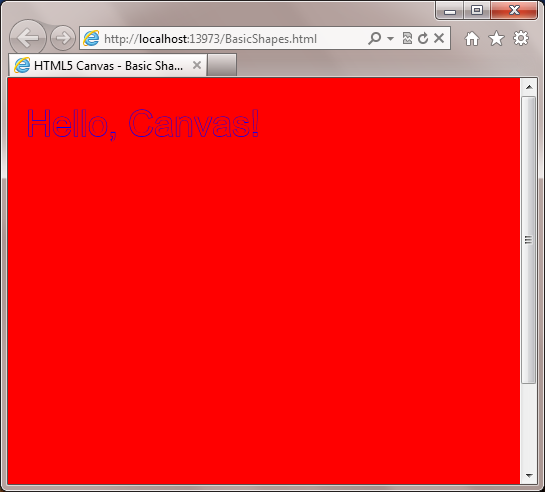
Now, if we browse our page without actually drawing anything using the Canvas drawing context, all we’ll see is a red background on our page. Not terribly interesting. But if we add the script from the end of part 1 (leaving out the first line, which draws a black box the size of the canvas), we get the result below:
Looks a little strange, because the fill color and the background color are the same. Let’s change the background color of the page to black:
1: <style>
2: body {
3: background-color: #000;
4: }
5: </style>
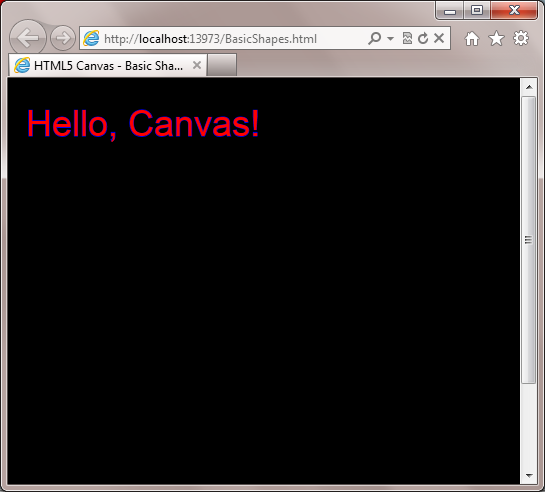
This gives us a little better-looking result:
But background colors aren’t all you can do. You can also use canvas over a background image as well:
1: <style>
2: body {
3: background-image: url(images/Andrew_Borg_Santa.jpg);
4: background-size: 100%;
5: background-repeat: no-repeat;
6: }
7: </style>
This gives us a nice festive background to work against, and further demonstrates the default transparency of the Canvas element:
While the default for the canvas is transparency, we can draw a background that’s the full size of the canvas, and still show some of our background color or image by using alpha values for the fillStyle, like so:
1: function renderContent()
2: {
3: context.fillStyle = "rgba(255, 255, 255, 0.5)";
4: context.fillRect(0, 0, canvas.width, canvas.height);
5:
6: var text = "Hello, Canvas!";
7: context.fillStyle = "#FF0000";
8: context.strokeStyle = "#0000FF";
9: context.font = "36px sans-serif";
10: context.strokeText(text, 10, 50);
11: context.fillText(text, 10, 50);
12: }
This results in a semi-transparent background of white for our Canvas element, which allows our background image to show through:
Styling, Filling, and Stroking
To do any drawing in HTML5 Canvas, you’ll generally want to set the style of the drawing context API that you plan to use, either fill (the inside of a shape) or stroke (the outline of the shape). By default, the style for each is simply the color black expressed in hash notation (“#000000”). To set a different fill color, you simply call context.fillStyle = color value, where color value is a color in any valid CSS format. Similarly, to set the stroke for the context prior to outlining a shape, you call context.strokeStyle = color value. You can see examples of both of these in the preceding code snippet. Note that there are additional properties that define the style for a shape’s outline, but we’ll cover these in a future post.
Once you have the fill and stroke set to the desired colors, you can start drawing.
Drawing Shapes
It may seem odd, but there’s really only one type of shape that you can draw directly with a canvas API, and that’s a rectangle. The canvas API has two methods specifically for drawing rectangles, context.fillRect and context.strokeRect. Of course, what fun would it be if we only draw boxes? So we’ll also take a look at how we can draw circles using context.arc, and a few other methods.
To spare your eyes, we’ll go back to drawing on a black background, using CSS as in the earlier example. And we’ll start out by simply drawing a red rectangle:
1: function renderContent()
2: {
3: context.fillStyle = "#ff0000";
4: context.fillRect(5, 5, 200, 100);
5: }
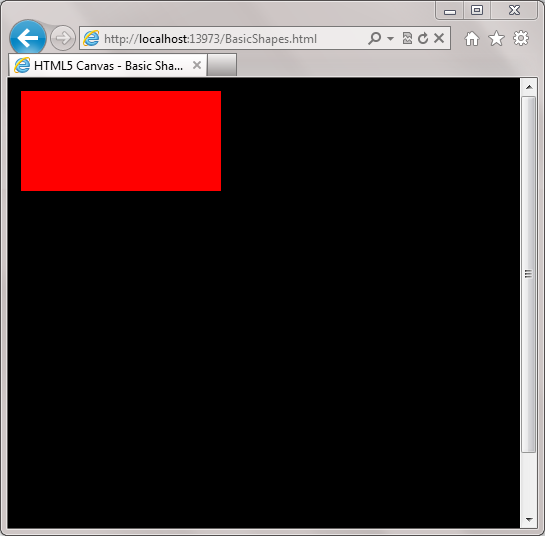
The fillRect function takes 4 arguments, the first two of which are the x, y, coordinates of the top left corner of the rectangle, and the second two of which are the width and height of the rectangle. This results in the following output:
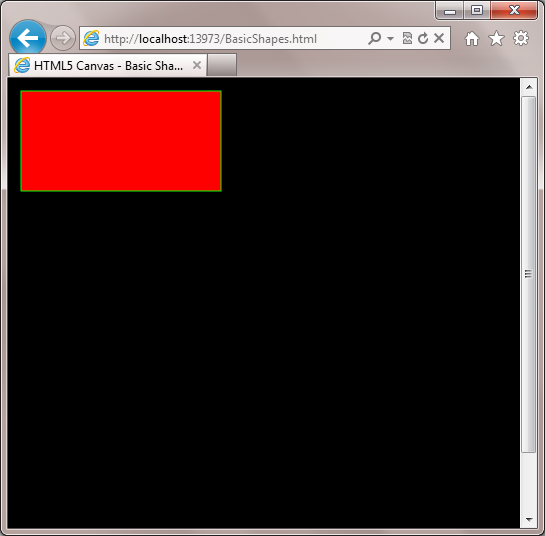
You can also draw a border around the rectangle using context.strokeStyle and context.strokeRect, like so:
1: function renderContent()
2: {
3: context.fillStyle = "#ff0000";
4: context.fillRect(5, 5, 200, 100);
5: context.strokeStyle = "#00ff00";
6: context.strokeRect(5, 5, 200, 100);
7: }
which gives us a nice 1px green border:
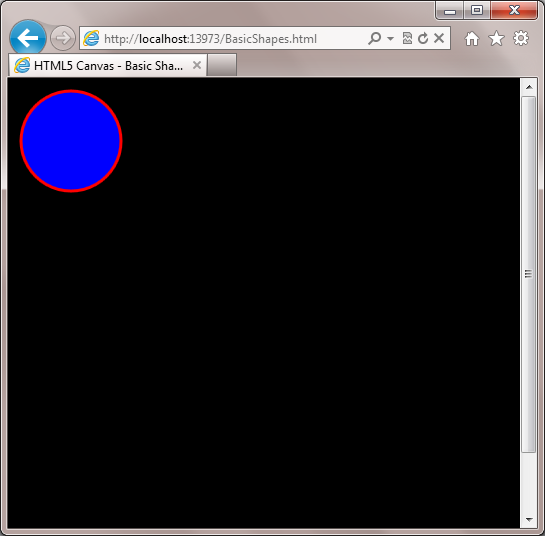
Drawing circles is actually just a specialized case of drawing paths, using the context.arc function. Here’s the code required to draw a red circle with a 3 pixel blue border:
1: function renderContent()
2: {
3: context.lineWidth = 3;
4: context.fillStyle = "#0000FF";
5: context.strokeStyle = "#FF0000";
6: context.beginPath();
7: context.arc(55, 55, 50, 0, Math.PI * 2, false);
8: context.closePath();
9: context.fill();
10: context.stroke();
11: }
there’s a fair amount that’s new here, so we’ll go through it line by line. In line two, we introduce context.lineWidth, which as you might guess, allows us to specify the thickness of the border we’re going to draw. fillStyle and strokeStyle work just as they do for rectangles, so we’ll skip over them. Next we call context.beginPath(). This tells the canvas element that we want to start drawing a path, but beginPath itself does not do any actual drawing.
The meat of our circle code comes from context.arc(). This function allows us to draw any portion of a circle. The first two arguments are the x and y coordinates of the center of the circle. Note that this differs from fillRect, so you will need to offset your xy position by the radius of the circle (plus any padding you want). We’re using the values 55 and 55, so that the circle which uses a radius of 50 (that’s the next argument), will be slightly to the bottom and right of the top left corner of the canvas element. The 3rd argument, as already mentioned, is the radius for our arc/circle, and we’ve set that to 50. The 4th and 5th arguments, respectively, are the beginning and ending angle for our circle, expressed in radians. We start from 0, and go to Math.PI * 2, which is equivalent to 360 degrees, giving us a full circle. The 6th and final argument determines whether or not we’re drawing the circle counterclockwise…by passing the value false, we’re saying to draw clockwise. Obviously, this matters a lot more when you’re only drawing part of a circle.
Tip: Converting Degrees to Radians
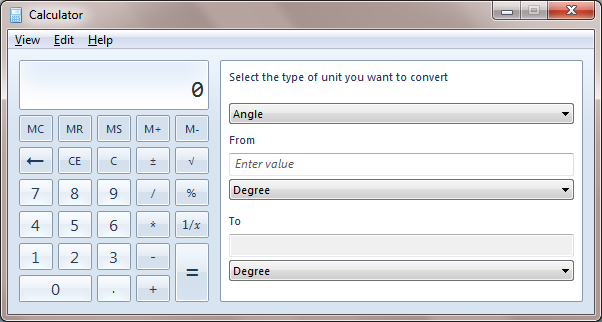
If you’re not a fan of doing conversion math to work with the context.arc function, here’s a tip…the Calculator app in Windows 7 has built-in conversion features, including the ability to convert from degrees to radians and vice-versa. Just select View > Unit conversion, and you get a view like the following (you may have to manually change the unit to Angle):
The result of our circle code is shown below:
The output is simple, but we’ve only just gotten started exploring what you can do with the HTML5 Canvas. Stick around, because in Part 3 of this series, I’ll delve deeper into drawing with paths, and text.
To wrap things up, here’s a JsFiddle with the code for our final example, which you can use as a starting point for experimentation:
If you found this useful, why not tell your friends? You can also subscribe to my RSS feed, and follow me on twitter for more frequent updates.
More parts in the series:
Comments
Comment by ianlee74 on 2012-01-06 15:37:00 +0000
Great job, again! I hope you’re going to get to animations 😉
Comment by devhammer on 2012-01-06 18:12:00 +0000
Absolutely. Just trying to take things one at a time. Have to walk before you can run.
