[This is part 3 of an ongoing series of posts examining the HTML5 Canvas element. In Part 1 of this series, I introduced Canvas and prepared a template to make further explorations a bit simpler, and also introduced JsFiddle, a neat tool for experimenting with and sharing web code. In Part 2, I demonstrated the ability of Canvas to allow your page background to shine through, and showed you how to render simple shapes on the drawing surface.]
For part 3 of our exploration of HTML5 Canvas, I’m going to introduce you to a couple of additional ways to draw…the path APIs and the text APIs. Actually, if you’ve read part 2, you already met one of the important path APIs, namely context.arc, which provides the ability to draw circles (or portions of circles). But circles aren’t the only thing we can draw with paths…not by a long shot…
Starting a Path and Drawing a Line
There are a couple of things you’ll need to do before you actually start drawing with the path APIs. The first is to move the starting point for your path to where you want it using context.moveTo():
context.moveTo(50, 50);
Here, I move the drawing context to 50 pixels right, and 50 pixels down from the upper left corner of the canvas element. Now, I can start drawing. The simplest drawing API is for drawing straight lines, context.lineTo():
context.lineTo(150, 150);
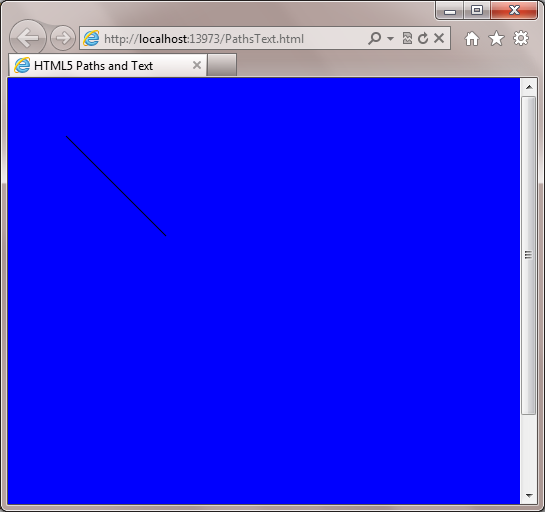
Here, I’m drawing a straight line from the origin set by moveTo to a point at 150 pixels right and 150 pixels down from the upper left corner of the element. But I’m not quite done. In order to actually render the line, I need to call context.stroke():
context.stroke();
The result is a serviceable, if unspectacular, diagonal straight line:
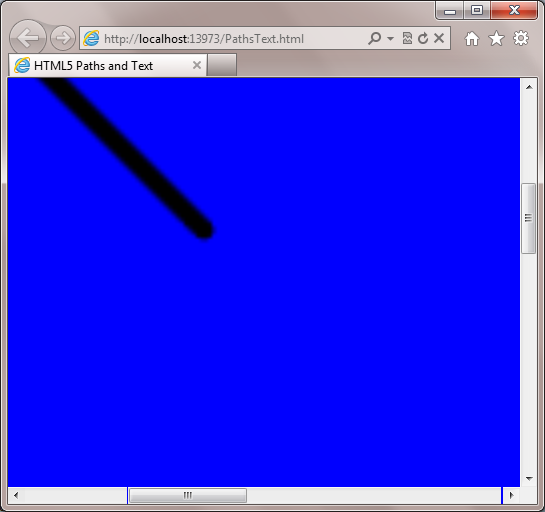
Now, that line is a little on the thin size, so let’s beef it up, shall we? A simple call to context.lineWidth prior to drawing the line will work swimmingly, and while we’re at it, we can use the context.lineCap API to make the ends of the line rounded rather than the default square (butt) end:
1: context.lineWidth = 5;
2: context.lineCap = "round";
Zoom in to 400%, and you can clearly see how the lineCap API has rounded the end of our line:
Next, we’ll add a couple more lines to make a triangle:
1: context.moveTo(50, 50);
2: context.lineTo(150, 150);
3: context.lineTo(150, 50);
4: context.lineTo(50, 50);
5: context.stroke();
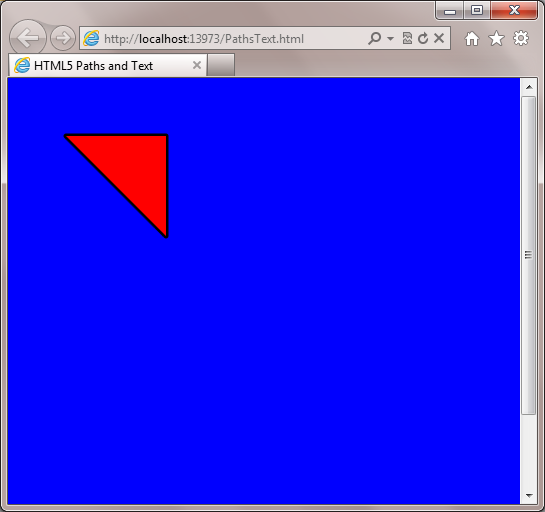
And we’ll also add a call to context.lineJoin to ensure our joins match our caps, and for fun we’ll fill the triangle with red…here’s the full rendering code so far:
1: context.lineWidth = 5;
2: context.lineCap = "round";
3: context.lineJoin = "round";
4: context.moveTo(50, 50);
5: context.lineTo(150, 150);
6: context.lineTo(150, 50);
7: context.lineTo(50, 50);
8: context.stroke();
9: context.fillStyle = "#F00";
10: context.fill();
which gives us the following result:
So far, so good. But what if you want to draw something other than a straight line?
Drawing Arcs and Bezier Curves
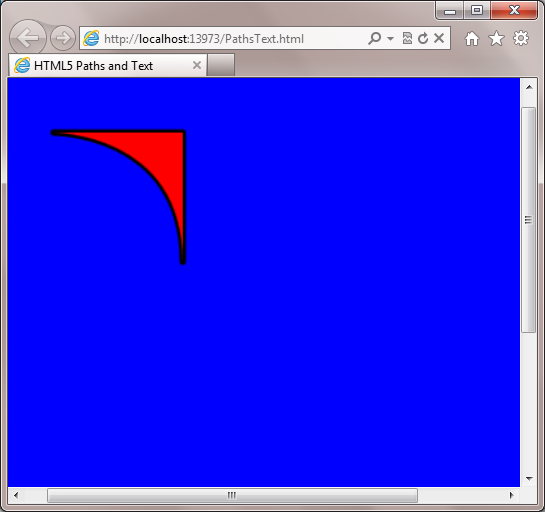
We already saw in part 2 how to use the arc API to draw circle shapes, but sometimes you need more than just a circle (or part of one). Suppose instead of all straight lines for our triangle above, we want to make one side curved? We could use the context.quadraticCurveTo or context.bezierCurveTo APIs to draw a curve instead of one of the straight lines, like so:
1: context.lineWidth = 5;
2: context.lineCap = "round";
3: context.lineJoin = "round";
4: context.moveTo(50, 50);
5: context.bezierCurveTo(50,50, 150,50, 150,150);
6: //context.lineTo(150, 150);
7: context.lineTo(150, 50);
8: context.lineTo(50, 50);
9: context.stroke();
10: context.fillStyle = "#F00";
11: context.fill();
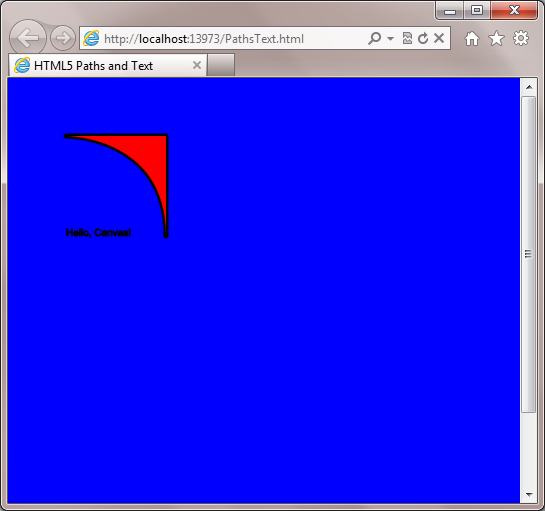
Above, we’ve replaced the code that previously drew the diagonal line with a call to bezierCurveTo. This API starts drawing at the location specified by the previous line’s call to moveTo, and ends at 150, 150, the value of the last 2 parameters. The first two parameters are the X and Y coordinates of the 2 bezier curve control points, in this case, 50, 50 and 150, 50, which gives us the following output:
The only difference between bezierCurveTo and quadraticCurveTo is that the latter only has one control point, rather than two.
Additional Path APIs
I’m not going to show full examples of each and every API for drawing paths and shapes, but here are a few more you may want to be aware of (there’s a pretty good reference for the Canvas APIs available over at W3Schools, where you can get more info):
- context.beginPath() – begins a new path or clears the current path.
- context.closePath() – closes the current path.
- context.clip() – creates a clipping area using the current path or shape information. Only pixels within the clipping area will be visible after calling this function.
-
context.clearRect(x, y, width, height) – clears a rectangular space matching the provided x and y origin and width and height, removing all pixels. Useful for clearing only a portion of the canvas.
- arcTo(x1, y1, x2, y2, radius) – draws an arc between two specified points of the specified radius.
Drawing Text
One very positive thing about drawing text with the canvas APIs is that it’s very simple, and can take as little as one line of code:
context.strokeText("Hello, Canvas!", 50, 150);In fact, the only other API specifically for drawing text is context.fillText. The remaining APIs are all relating to the font, location, and alignment of the text. Adding the above line of code to our existing page (with a quick call to context.lineWidth to set it back to 1 pixel), gives the following result:
This simplicity is great if all you want to do is drop a quick annotation onto a chart, or something similar, but there are some significant downsides to using the text APIs in canvas to be aware of.
Reasons not to use Canvas for Text
- Once you draw text in canvas, it’s simply a part of the bitmap data, and no longer distinct in any way from shapes, lines, fills, etc. So the only way to manipulate text once drawn is to redraw it. By comparison, text created using plain HTML or SVG becomes a distinct part of the DOM, and can be individually selected and manipulated without having to redraw it.
-
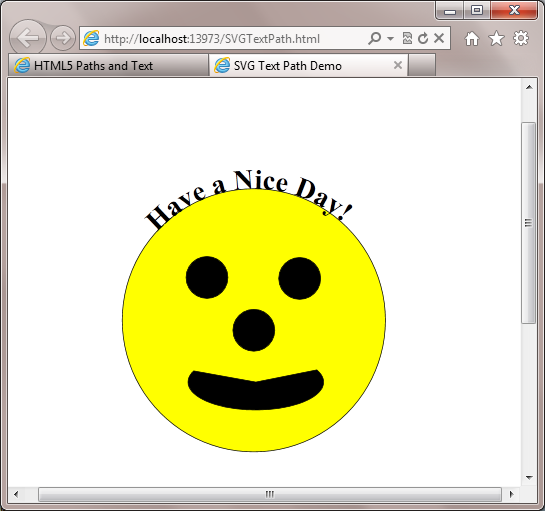
While you can change the orientation of canvas-based text using transformations (more on this feature in a future post), this doesn’t give you as much flexibility as the text APIs in SVG. For example, SVG makes it possible to flow text along a path, which is difficult if not impossible to do using any other available text technique. One downside of this technique is that it can be pretty involved, so you may want to use a vector graphics editor such as the free InkScape to create your SVG. You can see an example of flowing text on a path below.
- Text rendered using canvas is not accessible. Screen readers won’t see it, so those who are visually impaired will not know what the text says. So if your text is critical to the semantic meaning of your page, it should probably be in the markup, not in canvas, or even SVG.
-
-
As in Part 2, I’ll leave you with a jsFiddle of the code from today’s exploration:
I hope you enjoyed this foray into the wonderful world of the HTML5 Canvas path and text APIs!
If you found this useful, why not tell your friends? You can also subscribe to my RSS feed, and follow me on twitter for more frequent updates.
More parts in the series:
- Part 1 – Introduction
- Part 2 – Basic Shapes
- Part 3 – this post
- Part 4 – Transformations
- Part 5 – Basic Animation Up next, I’ll tackle Transformations…don’t miss it!
- Part 4 – Transformations
- Part 3 – this post
- Part 2 – Basic Shapes
- context.clip() – creates a clipping area using the current path or shape information. Only pixels within the clipping area will be visible after calling this function.
- context.closePath() – closes the current path.
Comments
Comment by Joel on 2012-01-25 17:53:00 +0000
great introduction to canvas, thanks!
Comment by devhammer on 2012-01-25 18:21:00 +0000
My pleasure. Glad you’re enjoying it…stick around, there’s more to come!
Comment by Vil on 2012-02-25 16:29:00 +0000
Good job! One thing I found confusing was that when using lineTo() function, the line is always supposed to go from right to DOWN right? But when in the tutorial we are using the lineTo() function for the second time (making the second line of the triangle), the line doesn’t go down no more, instead it goes straight up! I hope you understood my point haha. 🙂
Comment by devhammer on 2012-02-25 20:33:00 +0000
Vil,
Glad you enjoyed the post. With respect to the lineTo() function, it will draw a line from wherever the current point is to the coordinates provided as parameters. So in the case of the triangle example above, we first call moveTo to place our origin at 50 in both the x and y direction, then call lineTo(150, 150), which draws a line downward and to the right. At this point, the drawing context origin is at 150 in x and y. When we call lineTo(150, 50) we are keeping the x constant at 150, but drawing a line from 150 up to 50 in the y direction, so the line is drawn straight up. We then draw a line back to our starting point by calling lineTo(50, 50).
Hope that helps a bit in explaining what’s going on.
