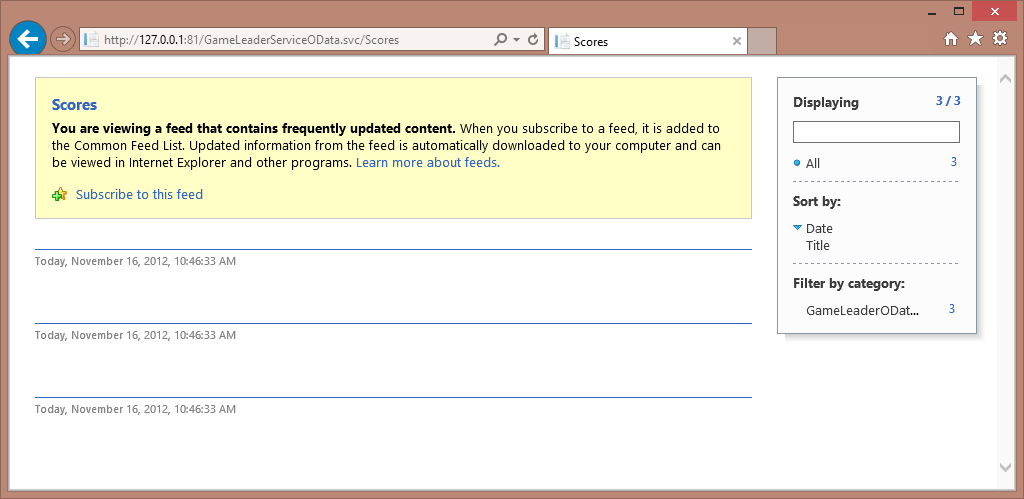
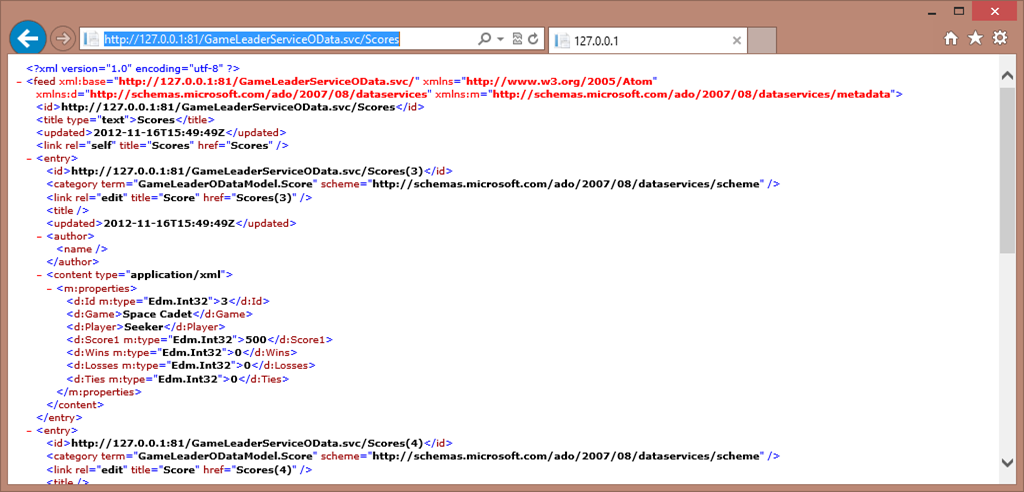
UPDATE: Part 2 of this post is now published as well.
It’s been longer than I planned, but this post is a follow-up to my overview post, “Building Data and Services for Windows 8 Apps”. In that post, I outlined a couple of different ways that you can build out data storage and services to provide a back-end for your Windows 8 app (and of course, these services can be shared with other apps as well).
I introduced the scenario of building a game leaderboard service, which could provide a central location for storing scores for different games, and allow those games to both store updated scores, as well as retrieve a list of scores for that game. I also showed the basics of the two games I’m planning to use, Catapult Wars, an XNA sample game ported to HTML5 by my fellow technical evangelist Chris Bowen, and Space Cadet, a sample game created by my fellow technical evangelist David Isbitski.
In this post, I’m going to walk through the steps needed to create a data store and services for our game leaderboard using OData, and based on the underlying technologies of SQL Azure (for the database), Entity Framework, and WCF Data Services. In part 2, which I’ll publish tomorrow, I’ll walk through publishing my service to Windows Azure, and wiring it up to the Windows 8 games in JavaScript.
Creating the Database
In this scenario, I’m going to start with the database, since that’s where the data will need to go.
First things first, if you don’t already have a Windows Azure account, you’ll need to create one. If you’re an MSDN subscriber, many MSDN plans include a variety of Azure resources, including compute hours, SQL Azure databases, and more. If you don’t have an MSDN subscription, you can sign up for a 90-day trial that will give you everything you need to follow along, and by default includes a spending cap to ensure that you don’t have any out-of-pocket expenses if your services exceed the trial service limits (if your services exceed the trial limits, they’ll automatically be shut down).
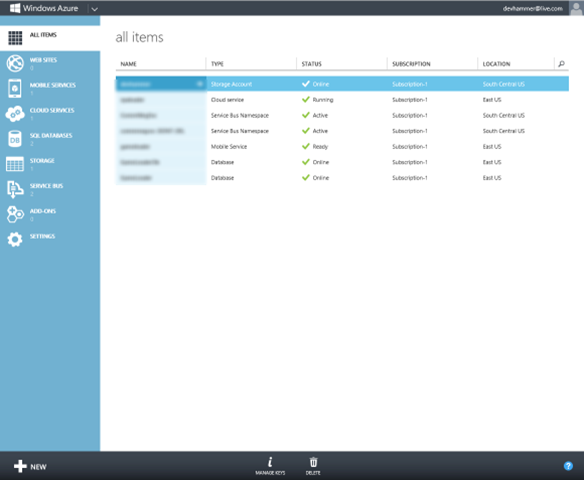
Once I have a Windows Azure account set up, I sign into the Windows Azure management portal, at which point I should see a screen that looks something like this:
Note that in my case, I already have a few services in my account. For a new account, you won’t have any services showing in the management portal when you sign in.
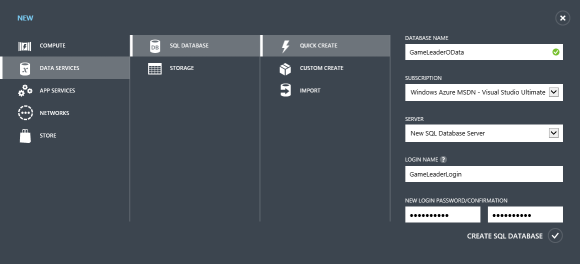
Creating a new database is very simple. I just click the + New link at the bottom left of the page, select DATA SERVICES | SQL DATABASE | QUICK CREATE, and fill in the required fields, as shown below. If you’re following along, make sure to make note of the database name, login name, and password for future reference:
Once I’ve filled in all the required fields, I click the CREATE SQL DATABASE link, and the database (and database server, if you’re not using an existing server in your account) will be created and added to the management portal.
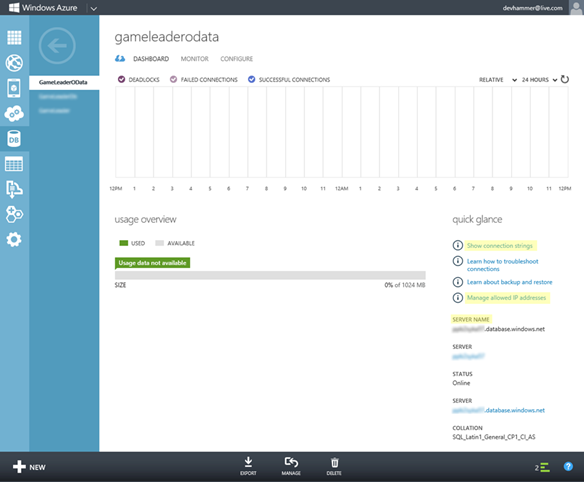
If I then click on the name of the new database, I see a screen similar to the following:
Note the highlighted areas, which include links to show the connection strings (you’ll need those to connect to your SQL Azure DB from Visual Studio), manage the allowed IP addresses (to allow specific IP addresses or ranges to access the database server from outside), and the fully qualified server name of the server instance on which the database has been installed. There’s a lot more I could do in the portal, but that’s outside the scope of this post, so I’ll move on to creating the database schema.
Creating the Schema
To keep this post to the point, I’m not going to go into great depth in terms of creating the data schema. This can be accomplished using SQL Server Management Studio (you’ll want the latest version to connect to SQL Azure), or the SQL Server Object Explorer in Visual Studio 2012 (I ended up using that, since I already have Visual Studio 2012 Ultimate installed, and I don’t have a local copy of SQL Server on this machine).
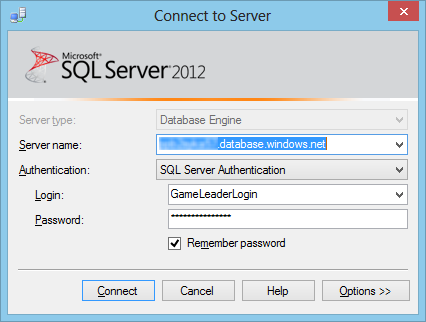
In SQL Server Object Explorer, I simply click the Add SQL Server button at the top of the window, then in the Connect to Server dialog, fill in the required info for the SQL Azure database (which you can get from the portal links above), like so:
NOTE: If you’re following along, and you get an error message that you can’t connect, you’ll need to go to the Windows Azure portal, and click the “Manage allowed IP addresses” link mentioned above, and add your current client IP address to the allowed list. You can always remove this later, once you’ve deployed your service.
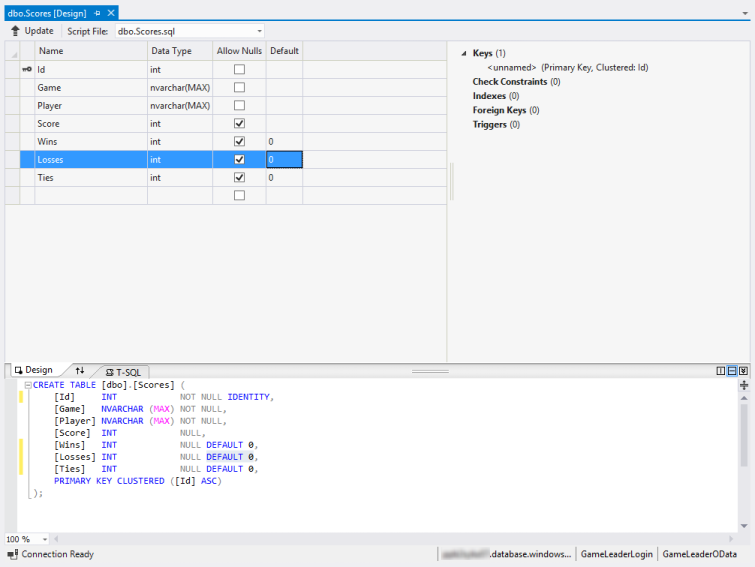
Once I’ve connected to the database, I drill down into the server tree and find my database, and open up the Tables node. I right-click the Tables node and select Add New Table, and add the desired columns, and any desired constraints (for example, I usually set the Id column to use SQL Server’s Identity feature to auto-increment its value). I also set defaults for the Wins, Losses, and Ties columns, as shown below:
As mentioned in my earlier overview post, I’m keeping the schema pretty simple for our example. Now that I’ve got my database set up, and my table and schema complete, let’s look at how I can start exposing some data in a way that’s easily consumed by a Windows 8 app.
Creating the Project
NOTE: This tutorial assumes that you have already installed the latest Windows Azure SDK. If you have not yet, then go here, and look for the “install the SDK” link near the top of the page, and follow the instructions to install the SDK.
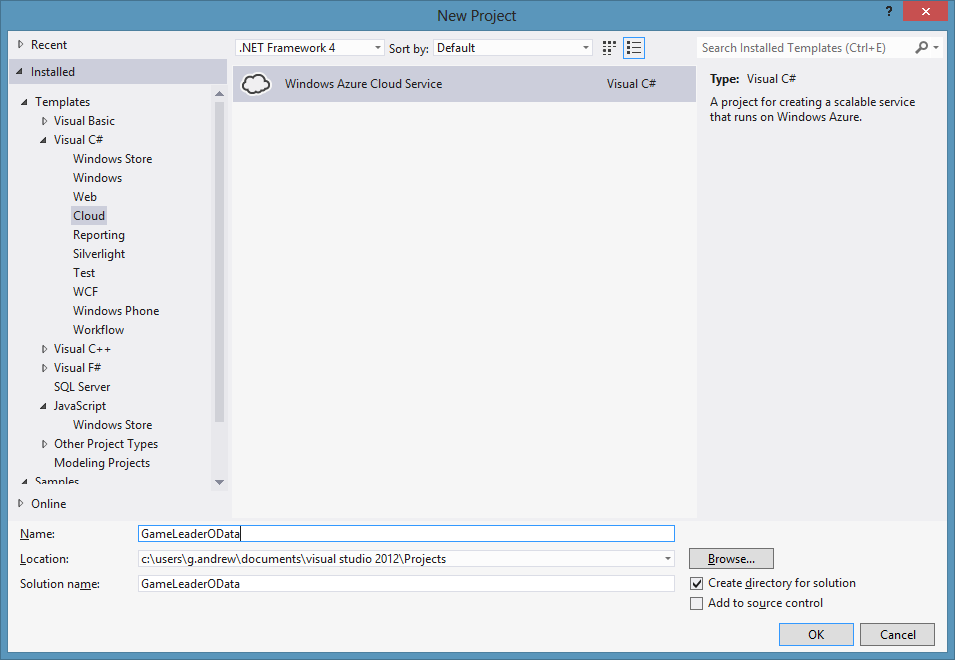
Since the plan in my case is to deploy this solution to Windows Azure, I’m going to start with a Windows Azure Cloud Service project, using C#, as shown below (note that to debug the Windows Azure Cloud Service locally, I will need to run Visual Studio as an administrator):
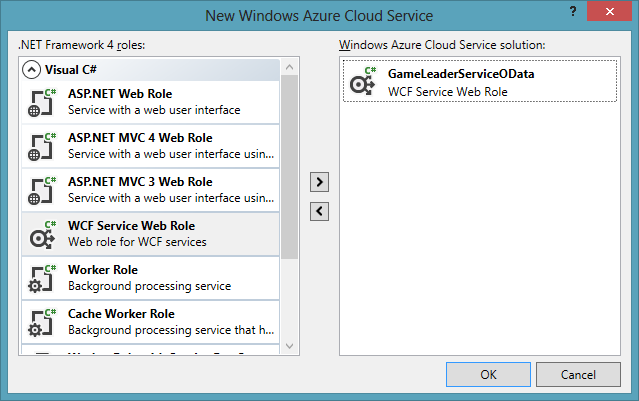
Of course, if you’ve done any work with Azure, you already know that I also need to choose what kind of role I want in our Cloud service, and for my purposes, what I want is a WCF Service Web Role, which I’ll call GameLeaderServiceOData, as shown below (you can change the name of your web role project by hovering over the item in the right-hand pane and clicking the pencil icon):
When the project has been created, Visual Studio will open up the default service code file, Services1.svc.cs. I don’t need this (because I’ll be adding my own service shortly), so I’ll close it, and delete both Service1.svc (and its code-behind file) as well as IService1.cs.
Create the Data Model
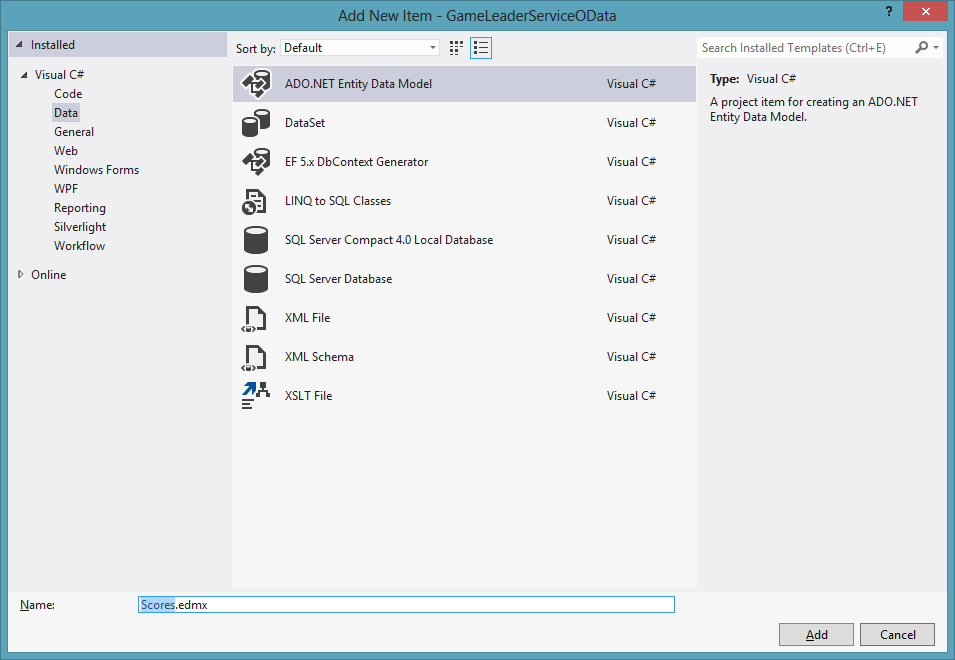
Again, in the interest of simplicity, I’m going to leverage the Entity Framework to quickly build a data model on the basis of the schema I created in my Windows Azure SQL database. To get started, I’ll add a new ADO.NET Entity Data Model to my project (Project | Add New Item…), and call it Scores.edmx, as shown below:
I’ll go ahead and select Generate from Database for the model contents, then choose New Connection for the database connection, and provide the connection information for my SQL Azure database created earlier. For simplicity’s sake, and because this is a demo rather than production code, I’m storing the password as part of the entity connection settings in web.config. IMPORTANT: You should always perform an evaluation of the security needs of your application, and make the best choices for the security of your connection settings, in particular passwords, which may include encryption, or setting connection passwords via code rather than storing in configuration files. The best practices for this are beyond the scope of this post, however.
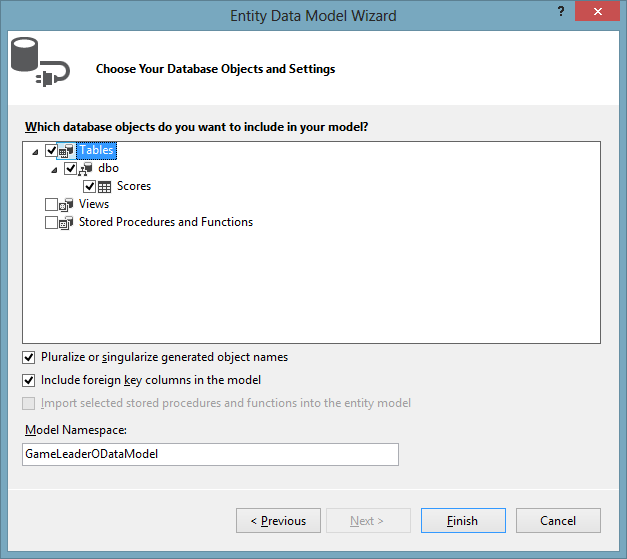
For my database objects, I’ll simply choose the Scores table created earlier, and accept the defaults for the rest of the settings (for more information on the Entity Data Model Wizard, see this topic on MSDN):
Once I click Finish, Visual Studio will create the data model, and open the model diagram, which contains the single entity, Score.
Now that I’ve got a model, it’s time to wrap it up in a nice service.
Creating the OData Service
If you’re not already familiar with it, OData is the short name of the Open Data Protocol, a web protocol for querying and updating data. OData itself is simply a specification, while implementation may take different forms depending on the vendor supplying the implementation. One of Microsoft’s implementations of the OData protocol is WCF Data Services (more recently, Microsoft added OData support to the ASP.NET Web API stack, which I’ll be looking at in a future post in this series).
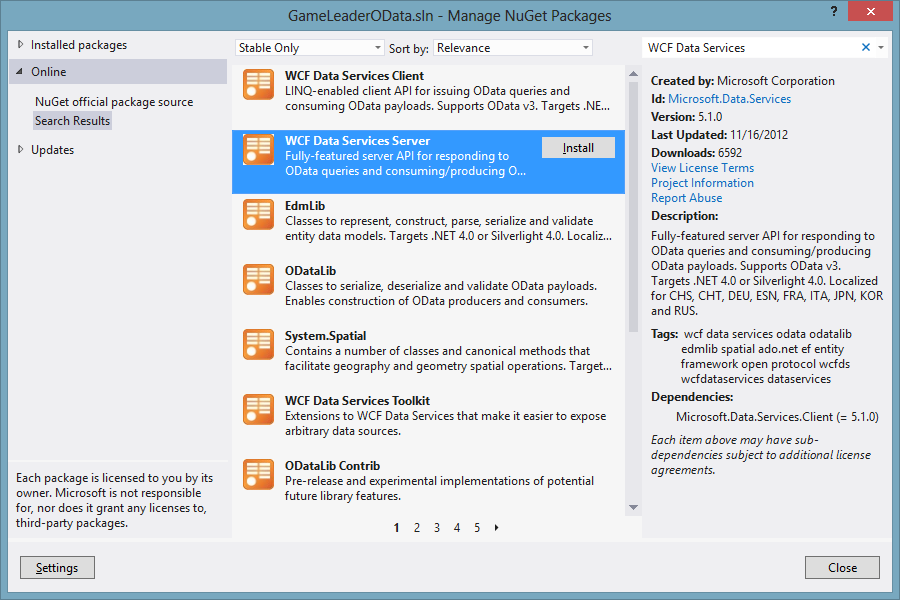
To make sure I’ve got the latest and greatest features for my WCF Data Service, I’m going to take advantage of the built-in support in Visual Studio for a packaging technology called NuGet, which allows various developers (both internal to Microsoft, as well as 3rd-party and community developers) to provide updated packages for their libraries and components, which I can easily add and update at the project level, using the Library Package Manager, either via command line or GUI, right in my Visual Studio project):
When I click Install, NuGet will add the WCF Data Services Server assemblies (along with any dependencies) to my project, add the required references, and then I’m good to go.
NOTE: One important reason for updating to the latest version of WCF Data Services is that version 5.1 added support for the format query parameter, which allows you to specify that you want the service to return JSON-formatted data, rather than the default ATOM-Pub format. This is very useful in scenarios where you are unable to pass an HTTP header to specify the desired format, for example when you’re testing your service in a browser, or when using APIs that only allow you to pass a service URI as part of the API.
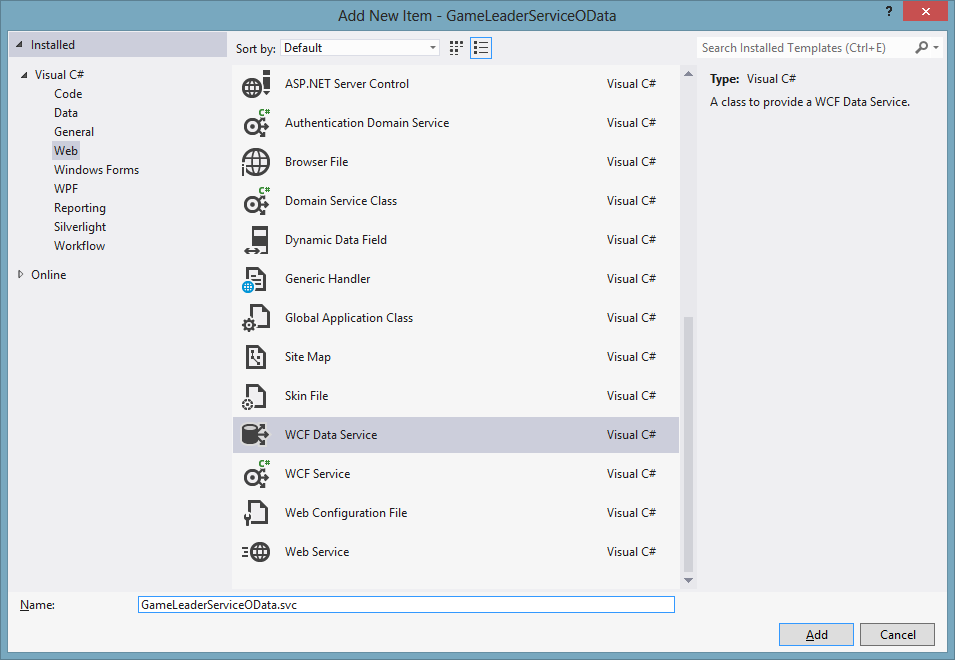
The next step in getting my leaderboard working is to add a new WCF Data Service to my project, as shown below:
Once I add the service to my project, Visual Studio will helpfully open the GameLeaderServiceOData.svc.cs file containing the implementation of my service, which I need to modify slightly to make it functional. A minimum of two changes are required:
- In the class declaration, I need to provide the name of the data source class (in my case, this is the entity name from our data model, which is GameLeaderODataEntities).
- In the InitializeServiceMethod, I need to configure the access rules for the entity. In my case, I’m going to provide AllRead and AllWrite. Note that this step provides these permissions to anyone with the OData endpoint URL, so if you want to limit access to authenticated users, you also need to provide (either via configuration or code) for authentication in your solution.
<div class="csharpcode">
  <pre class="alt"><span class="lnum">   1:  </span><span class="kwrd">namespace</span> GameLeaderServiceOData</pre>
2: {
3: public class GameLeaderServiceOData : DataService<GameLeaderODataEntities>
4: {
5: // This method is called only once to initialize service-wide policies.
6: public static void InitializeService(DataServiceConfiguration config)
7: {
8: // TODO: set rules to indicate which entity sets and service operations are visible, updatable, etc.
9: // Examples:
10: config.SetEntitySetAccessRule("Scores", EntitySetRights.AllRead | EntitySetRights.AllWrite);
11: // config.SetServiceOperationAccessRule("MyServiceOperation", ServiceOperationRights.All);
12: config.DataServiceBehavior.MaxProtocolVersion = DataServiceProtocolVersion.V3;
13: }
14: }
15: }
