It’s been more than 8 years since Jon Udell posted an encouragement of blogging over email entitled “Too busy to Blog? Count your keystrokes” and over 5 years since Scott Hanselman followed up with “Do they deserve the gift of your keystrokes?” Both posts explore the idea of our keystrokes being a limited resource that is better used to contribute to knowledge sources like blogs or wikis that are available to large numbers of people, rather than replying to a much more limited audience via email. In this post, I’ll introduce you to one of my favorite new helpers, Emmet in Visual Studio Code, and show you how it helps me save keystrokes when working with HTML markup.
Keystrokes Count in Programming, too
If keystrokes are a limited resource (and I think they are), then we ought to conserve them in other areas, and one place to do that is when writing code or markup. How many of us end up writing large chunks of markup, or JavaScript, or CSS rules essentially from scratch? Sure, most of the time we may be leveraging libraries like Bootstrap, Angular, etc. to take care of the heavy lifting, but there’s still a lot of code and markup that is needed to bring a site to life, and the less of that code we type out by hand, the more keystrokes (and time) we can save for more important pursuits.

Meet Emmet
One way to reduce the keystrokes spent on code is through Emmet, a plugin for many popular editors including one of my current favorites, Visual Studio Code. Emmet can help you save keystrokes when writing HTML, CSS, and XSL. Emmet works like snippets in the full Visual Studio IDE. You simply type one or a combination of Emmet’s abbreviations, press the tab key, and Emmet expands your abbreviation with the relevant markup or code.
Emmet in Visual Studio Code
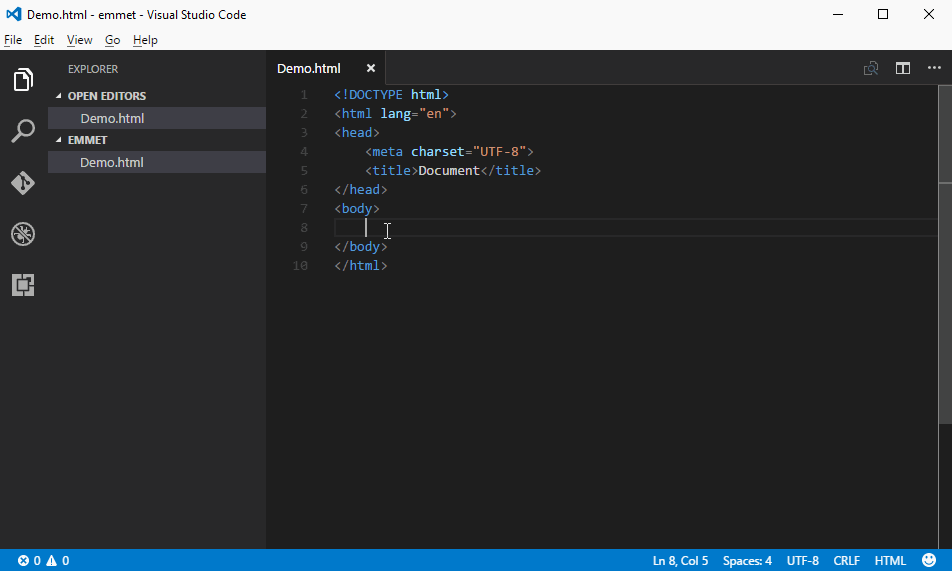
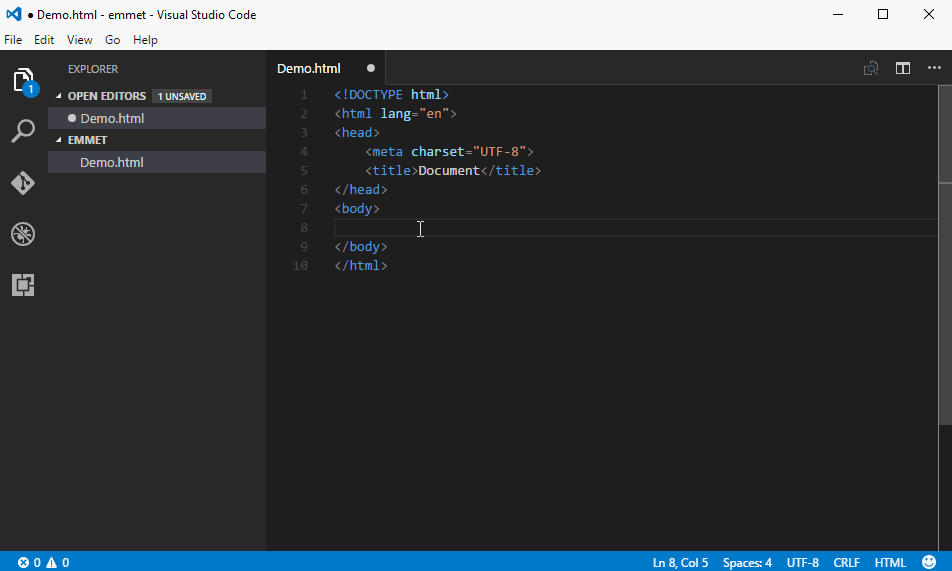
But Emmet goes further, by including a powerful and compact syntax for creating multiple entities, inserting attributes, and more. For example, you can create a basic HTML5 page structure by simply typing ! then pressing the tab key. You can see the results below:

And when you’ve expanded the ! abbreviation (which is just an alias for the longer html:5 abbreviation), the editor automatically places the cursor inside the
tags, and highlights the title element’s “Document” default text, as it’s assumed you’ll want to replace this. You can just tab to the highlighted text to replace. See it in action: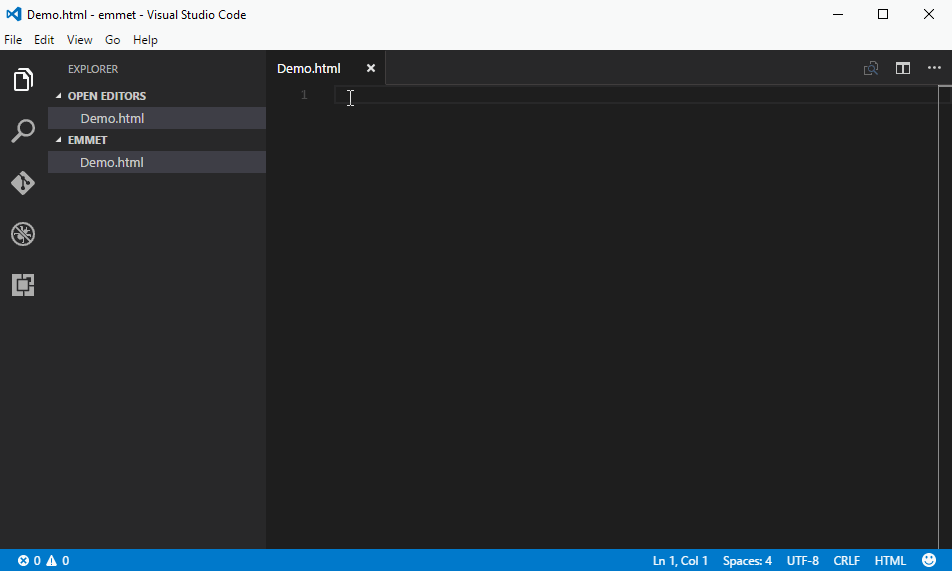
So far, so good. If you’re starting from scratch on a new page, that’s already saved around 139 keystrokes. But what else can Emmet do?
Powerful Selector Syntax
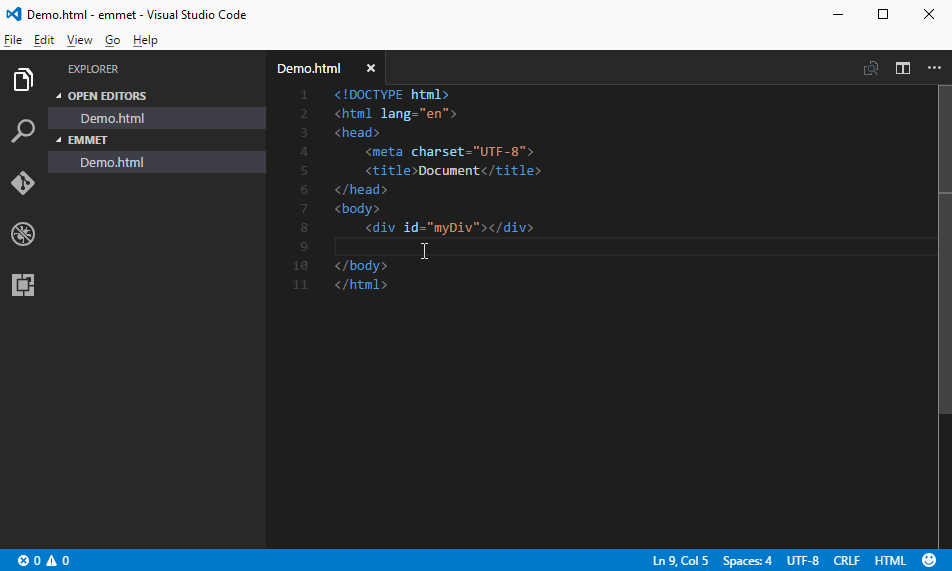
One of the other neat things that Emmet provides is a selector syntax based on CSS selectors, which makes it easy to pick up the basics, and create some fairly complex markup with relatively few keystrokes.
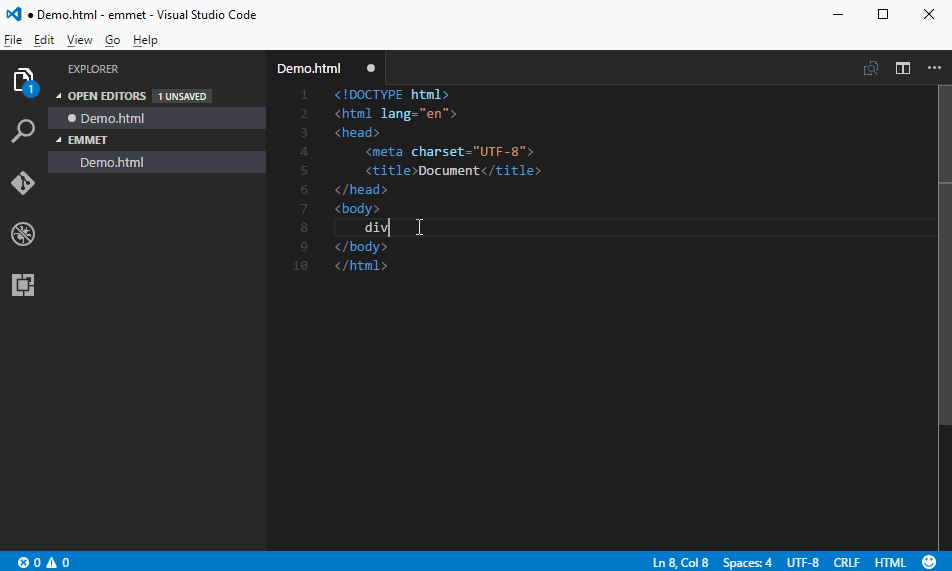
Let’s say I want to add a
Similarly, if I want to add a CSS class to an element, I can simply precede it with a dot, just as I would when creating a rule in CSS. And it’s easy to add multiple classes to the same element…just separate each class with a dot:
And, of course you can use > for child elements and + for sibling elements, like so:
Those of you who are heavy Bootstrap users are probably already seeing how nicely Emmet abbreviations are for working with Bootstrap classes, to lighten the load of building out a nice Bootstrap UI from scratch. Also notice in the screencap above that you can use colon (:) after a certain elements (input and a, for example) to specify the kind of element you want via the type or href attribute.
You can also provide your own custom attributes by wrapping them in square brackets, using the syntax: element[attributeName=”attributeValue”]. You can also use curly braces to indicate literal text to include. For example p{My Text} would expand to My Text
But wait…there’s More!
But that’s just the basics. Emmet also allows you to use parentheses to group elements, and the asterisk to indicate that you want multiple of a given element or group of elements:
You can also use the ^ symbol to “climb up” one level in the element tree (and you can use more than one to climb multiple levels.
There’s lots more to learn, but hopefully the examples above have whetted your appetite. Check out the Emmet Documentation and Cheat Sheet for additional details on the snippets, abbreviations, and more available with Emmet in Visual Studio Code, and in other Emmet-capable editors.
Conclusion
To be clear, Emmet isn’t new, but it’s a fantastic way to be more efficient at generating very specific markup quickly. If you’re using Visual Studio Code (or any other Emmet-capable editor) and you’re not using it, you should definitely give it a try.
Bonus Tip
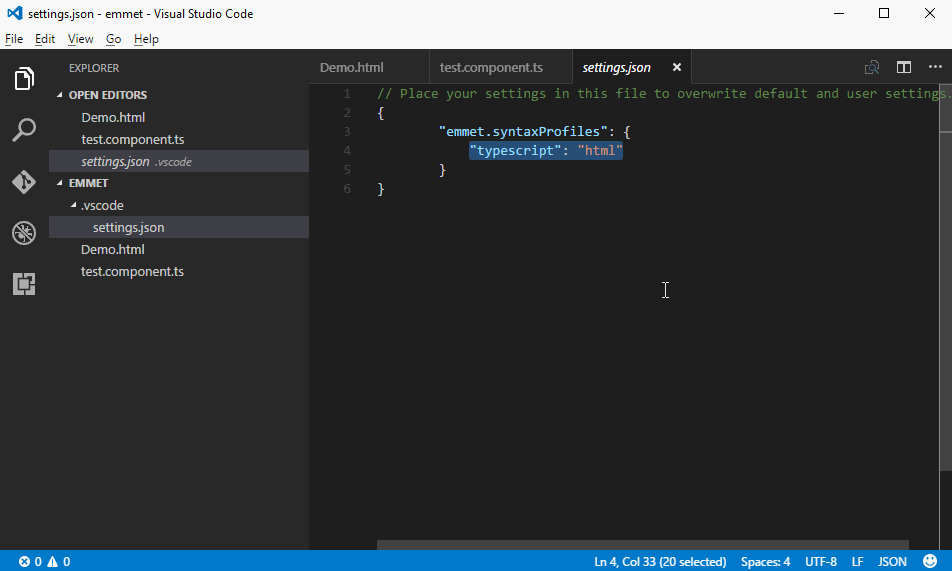
I’ll leave you with one bonus tip specifically for Emmet in Visual Studio Code. The August 2016 release of Visual Studio Code includes a new preference that allows the mapping of one syntax profile to another for Emmet. This is a very useful addition, since one of the annoyances I’ve had when doing simple Angular 2 components in Visual Studio Code was the fact that inline templates in Typescript files would not perform expansion of Emmet abbreviations and snippets. With the simple addition of the following to your settings.json file (either at the workspace or user level), you can map the HTML expansions into the Typescript syntax profile:
Once you’ve done that, you can easily build out your component with an embedded template, and still take advantage of Emmet to speed your markup creation (using extensions to provide snippets for Angular 2 helps, too):
Comments
Comment by Bora Kasmer on 2016-09-12 18:12:01 +0000
What is the difference between Zen Coding and Emmet ?
Comment by G. Andrew on 2016-09-12 20:24:27 +0000
Zen Coding was the original name for the project. Emmet is its current name. More info at: http://emmet.io/credits/
Comment by Peter Morlion on 2016-09-13 05:57:17 +0000
How exactly did you install it for VS Code? I can’t find it in the plugins. And the official Emmet site just takes me to the VS Code site.
Comment by csuzw on 2016-09-13 06:27:54 +0000
It looks like it’s build into VS Code: https://code.visualstudio.com/docs/languages/html#_emmet-snippets
Comment by G. Andrew on 2016-09-13 10:04:44 +0000
As @csuzw notes, it’s already built-in, no extension or plug-in needed. Though there are tons of other extensions worth exploring as well. I may do a post or two on the extension ecosystem in the future.
Comment by Joshua Gossett on 2016-09-15 12:26:09 +0000
Love the article. I have a question completely unrelated.
How did you create the GIF screenshots?
Comment by G. Andrew on 2016-09-15 13:17:06 +0000
Glad you enjoyed it.
Made the GIF screencaps with LICEcap: http://www.cockos.com/licecap/
Somewhat unfortunate name, but it’s a very simple and effective solution for making the GIFs.
I still need to take advantage of some of the features (recording mouse clicks, adding text, etc.), but so far it’s a lot easier than recording a full screencast, which can be time-consuming, especially when it comes to editing. GIFs are a lot lighter-weight than video, too.